
Set up your virtual environment and create virtual machines lightning fast
One of the best things about virtualization is the speed at which you can deploy virtual machines and containers. And with the ease of creating backups, you can restore a VM or container in as little as 30 seconds! Want to try out a new operating system? Maybe an OS-agnostic application out of a container? Misconfigured or broke something and want to restore it to a previous state? Proxmox has you covered.
Before we get started, you’ll need to make sure your chip supports virtualization. Most modern chips do, but Proxmox is designed to work with the x86-64 architecture (Intel chips). You can check compatibility here. Don’t have a PC you can use? While there are tons of options, a great starter machine that’s relatively inexpensive is the Dell Optiplex 7040 Micro, which you can pick up in the $100 range.
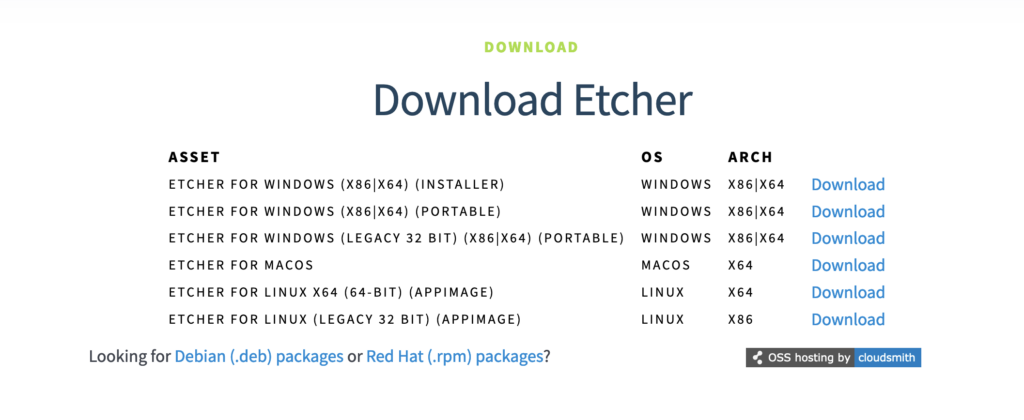
As a type 1 hypervisor, we’re going to overwrite the host machine’s OS with Proxmox to run it “on bare metal.” To do this, we’ll need to flash the Proxmox ISO onto a USB, boot from the USB, and install on our machine. There are several free and open-source tools to do this with, but I like to use BalenaEtcher. Simply download the application for your operating system and install.
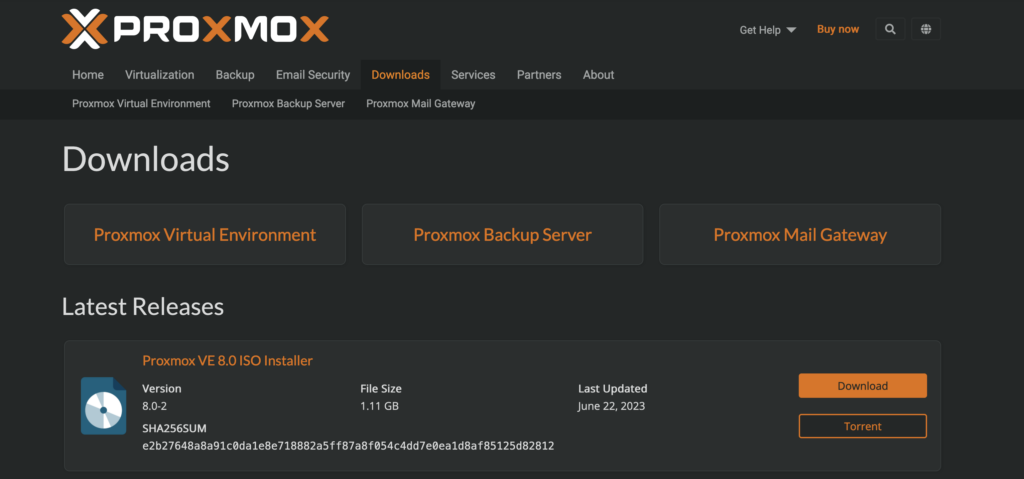
Next we’ll head over to Proxmox and download the latest ISO. Make sure you’re getting v8.0. Always check the hash!
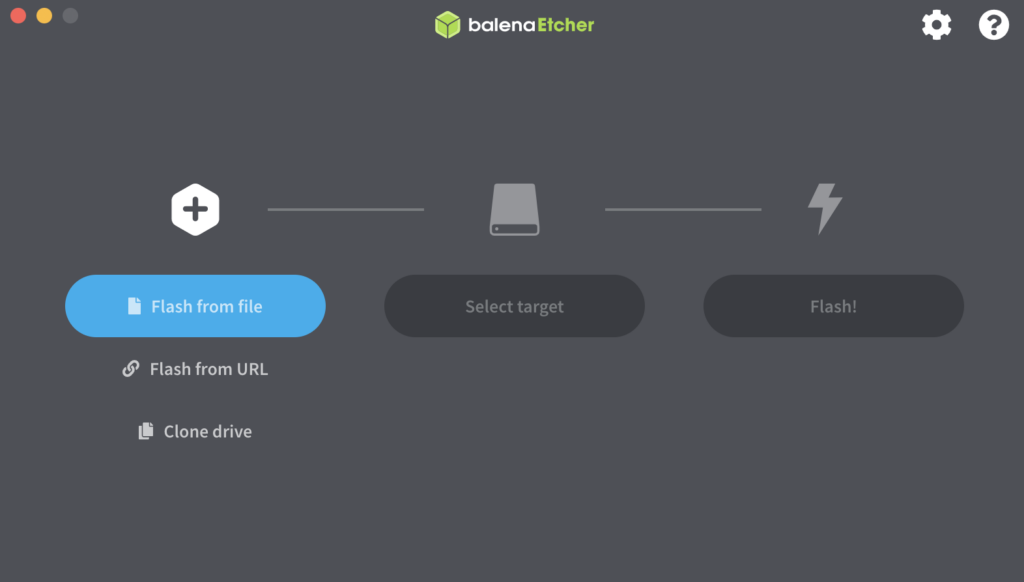
You’ll need a USB with at least 1GB, but I haven’t seen a USB with that little storage in a long time. Even 4GB is hard to come by. Either way, now that you have BalenaEtcher installed and the Proxmox ISO, let’s flash the USB. I’m on a Mac, so yours might look slightly different if you’re using Windows or Linux, but once you open the application, you’ll be presented with the option to select the ISO (file or url), the target (USB) and then to flash the device.
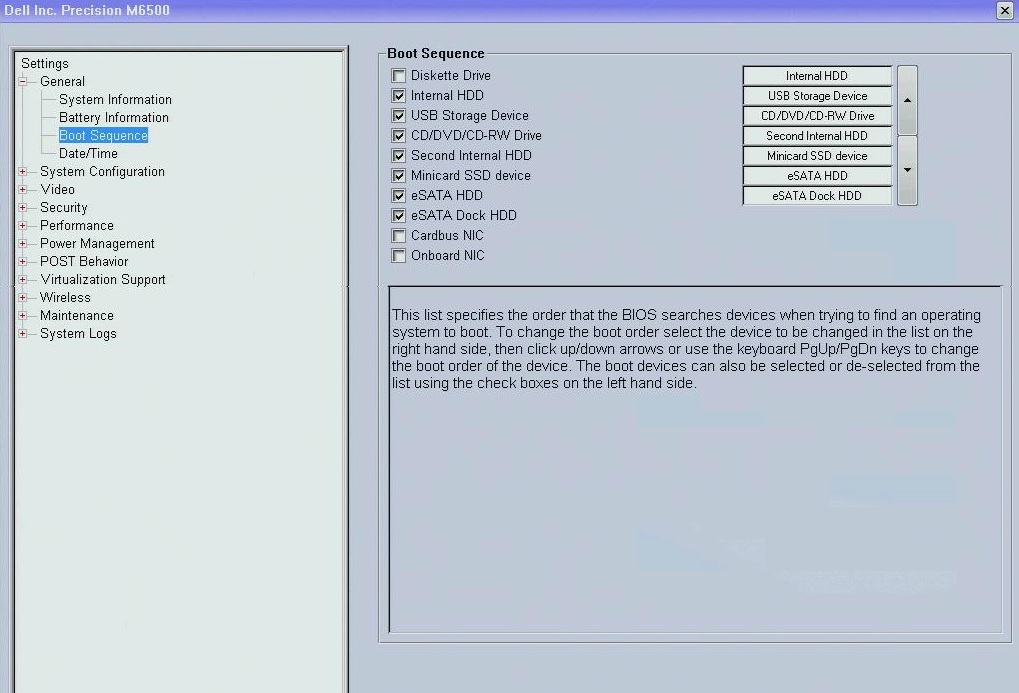
Once that completes, remove and insert the USB into the machine where you want to install Proxmox. Your UEFI or BIOS screen may look different depending on your hardware, but for our purposes, we’re looking at the Dell Optiplex’s 7040 UEFI screen. To get there, power on the computer and hold the F2 key. Select Boot Sequence under General in the dropdown menu. You should see the USB as one of the media options, so go ahead and move the USB to the top of the list, save and reboot your machine.
You’ll be greeted with a welcome screen and install options. If you want a lightweight option and you’re comfortable with command line, you can install the console version, but I highly recommend installing the graphical version if you’re new to Proxmox.
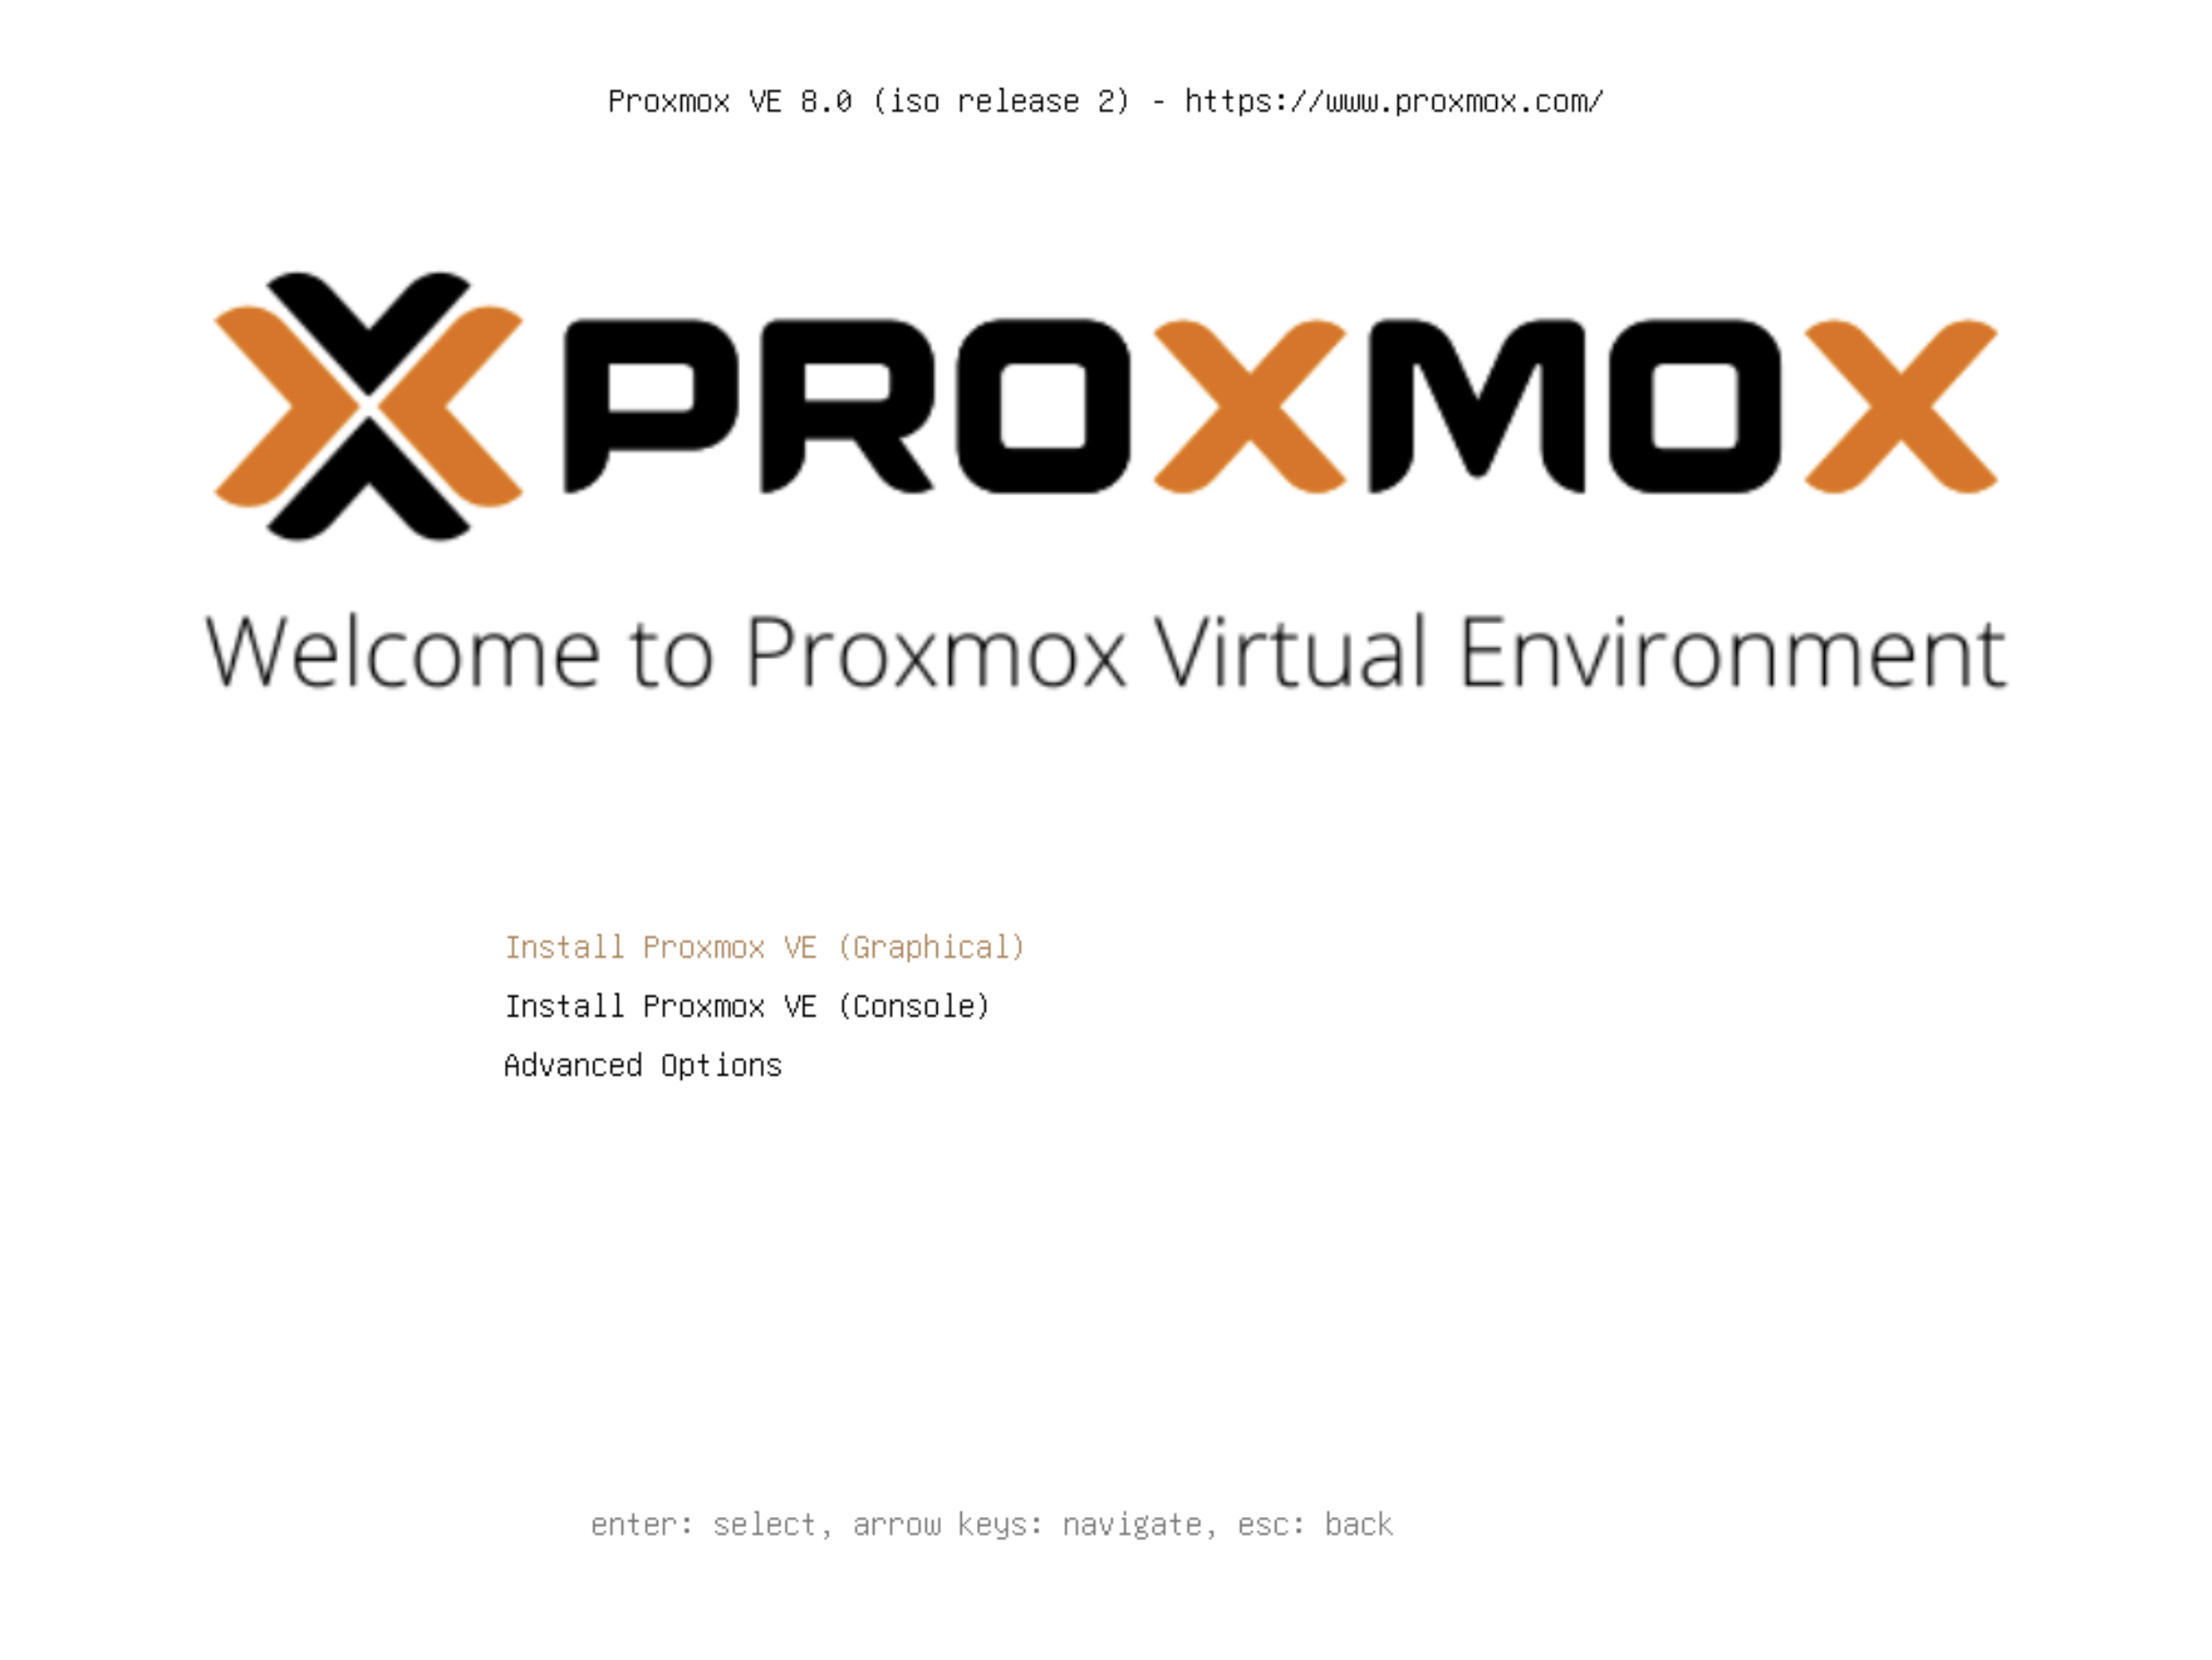
Simply select Install Proxmox VE (Graphical) and you’re off to the races! Select the hard disk you wish to install Proxmox on (you may only have one), and then click next.
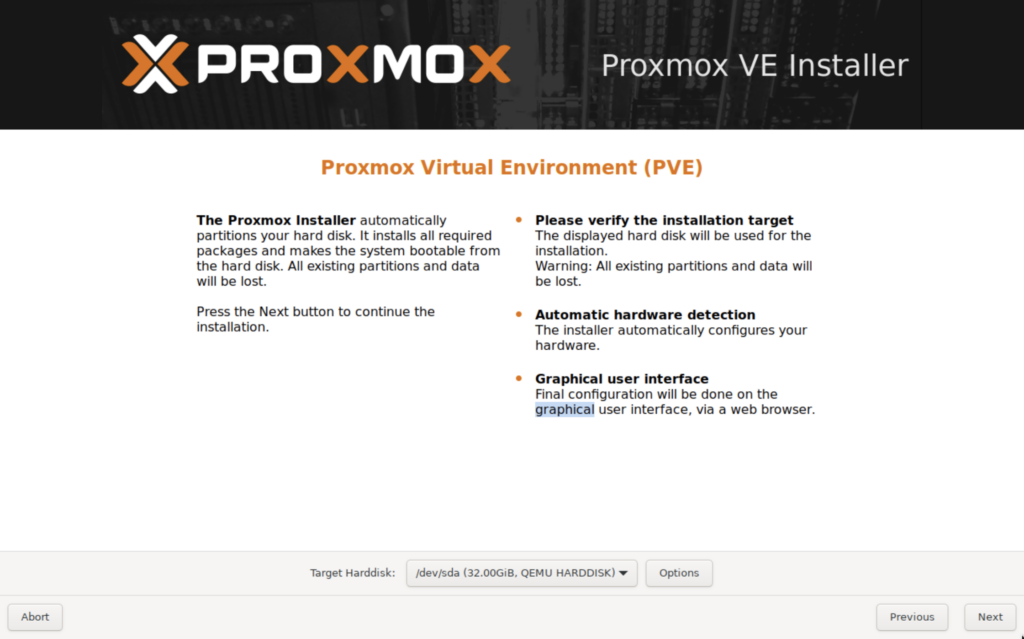
You might be asked to set up a file system type or structure on one of the following pages; for just a basic install, I’d recommend using ZFS with RAID 0. This setup doesn’t offer any redundancy, but I’ll show you how to back up your system. You should consider taking regular backups and storing them on physical media.
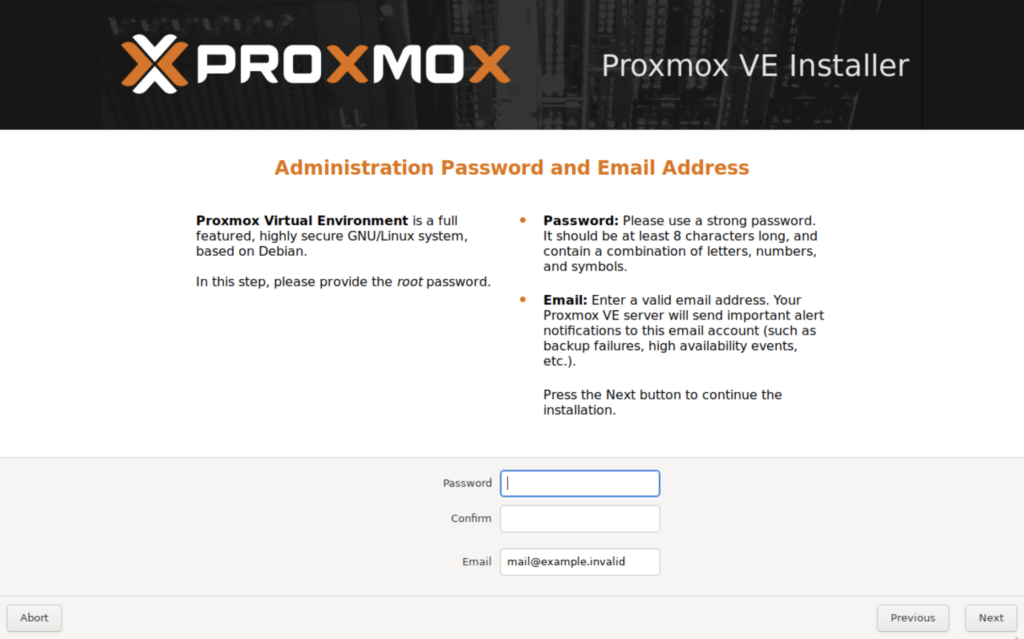
The default username is “root,” so we’ll need to set up a password for it. Make sure it is complex. Your email address can be your actual email, or you can use a dummy address.
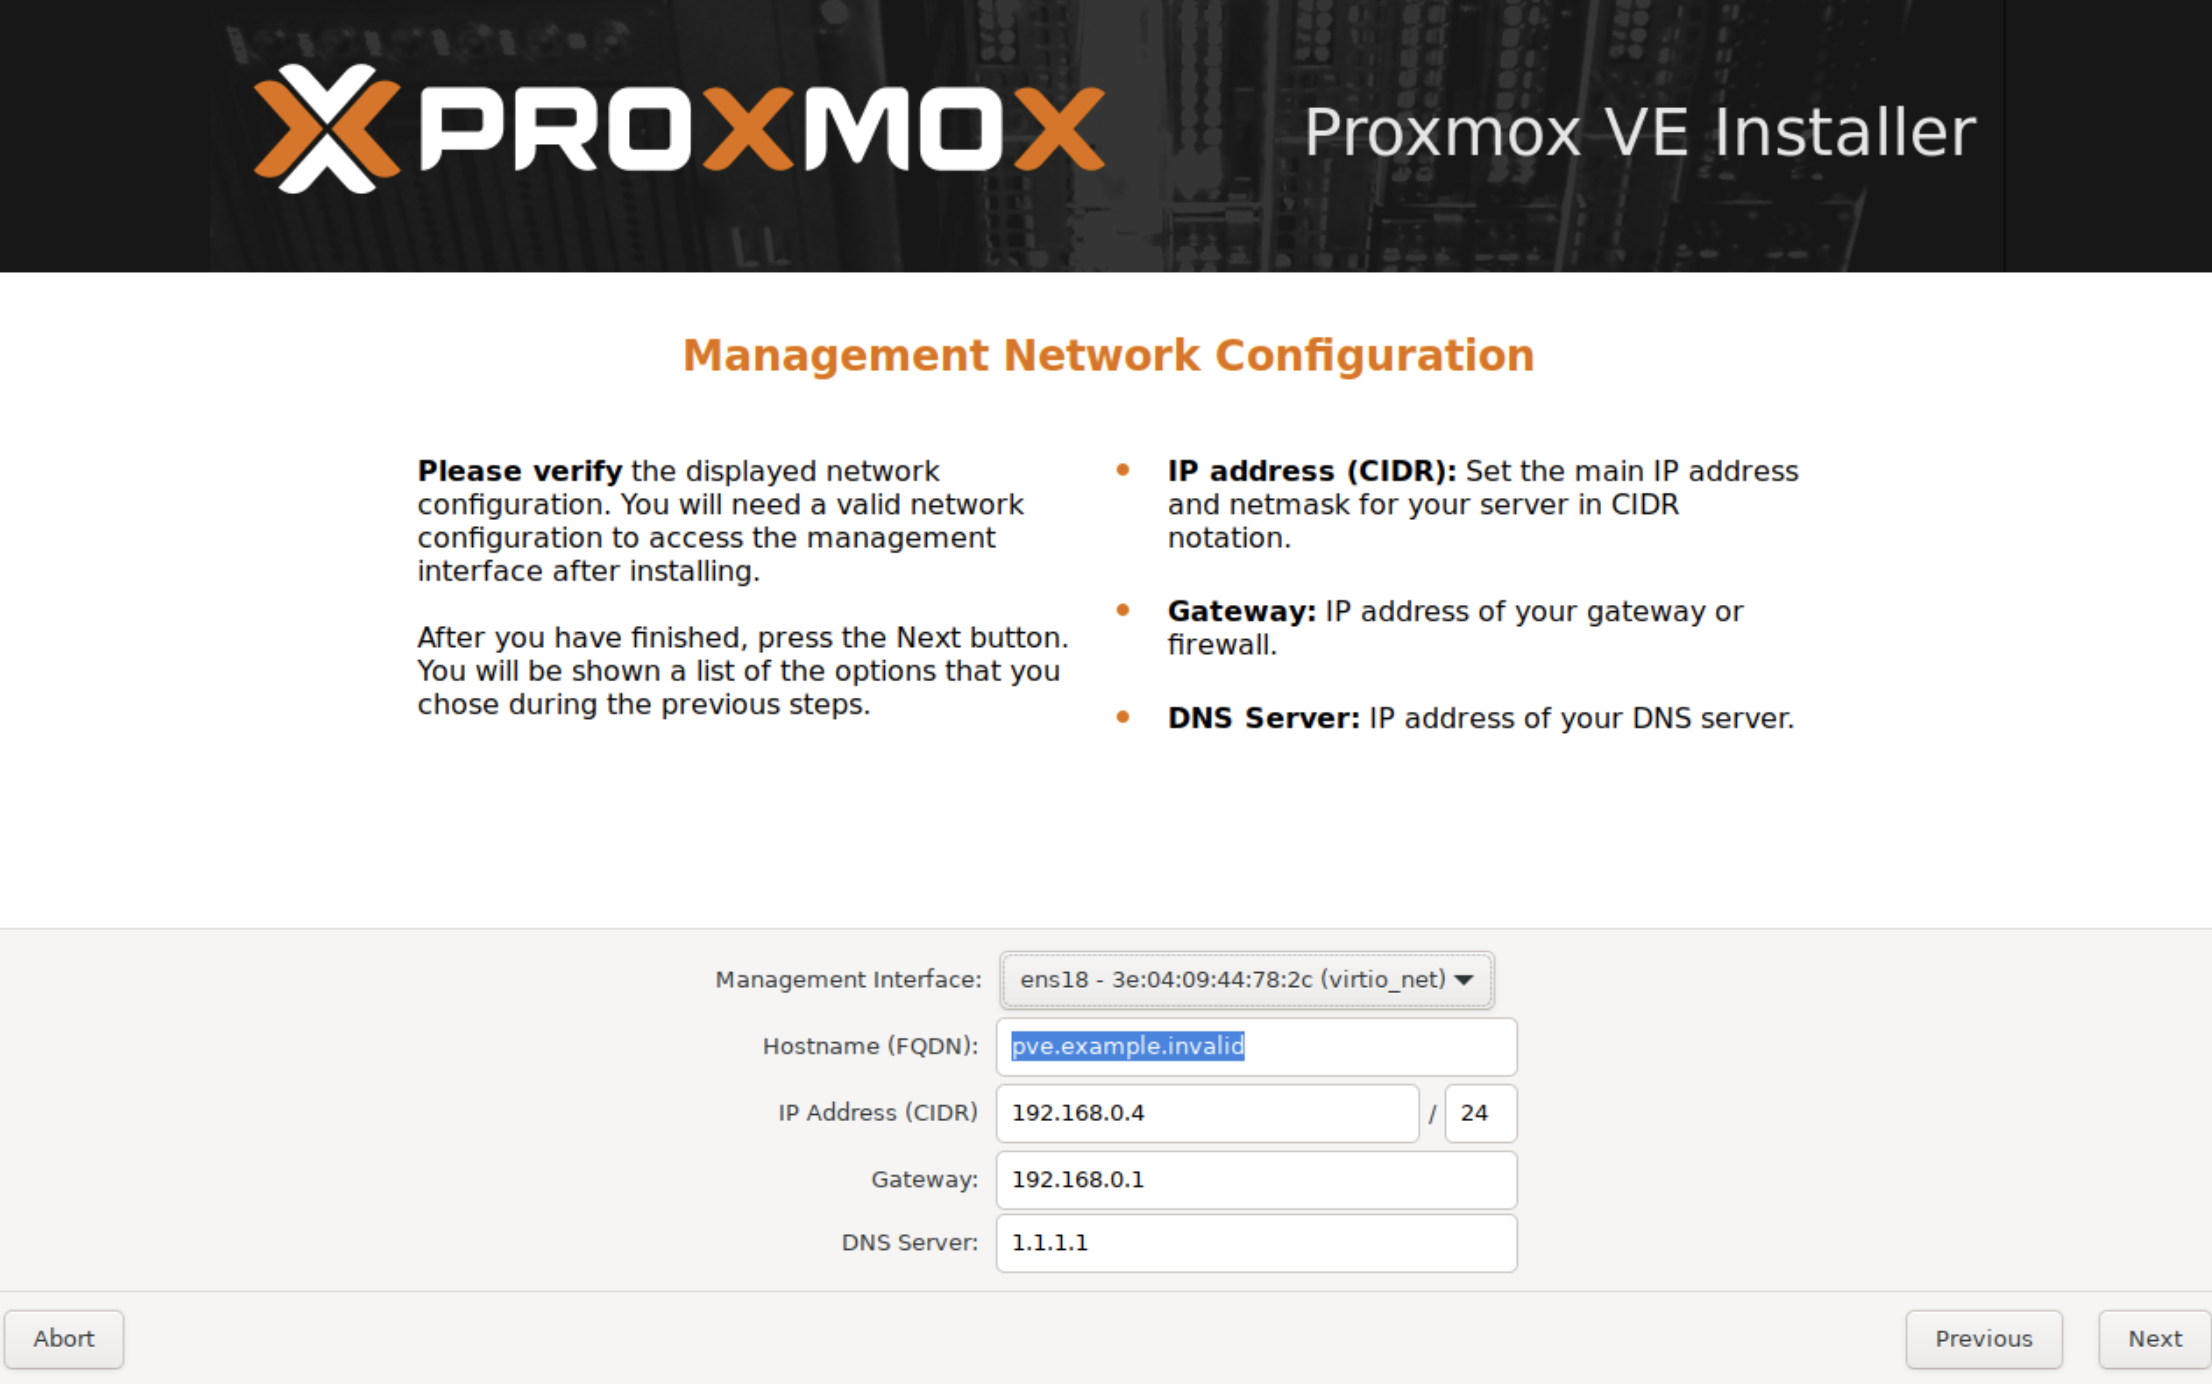
After that we need to configure networking options. Most SOHO routers use DHCP by default, so Proxmox should populate the information automatically, but if it doesn’t, enter the desired IP address of the machine and the gateway (router’s) address. The DNS server can be your gateway if your router supports it, but I like to use Cloudflare’s DNS servers. You can pretty much make up anything for the hostname, but because I own portforwarded.com, I’ll just use my own website’s FQDN.
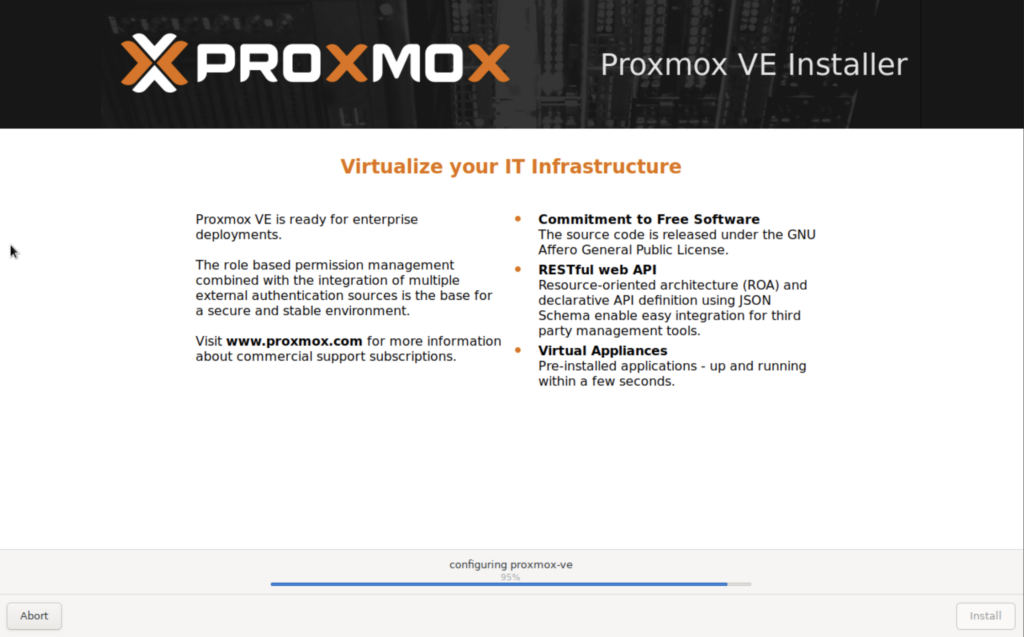
Select next and then “Install.” Proxmox should begin installing.
Once Proxmox is finished installing, reboot the machine and navigate to the local IP address (from another machine on your network) where you’ll be greeted with the login page. NOTE: add a colon and the port, 8006 into your address bar. So if the Proxmox machine’s local IP address is 192.168.0.6, you’ll enter https://192.168.0.6:8006 into the address bar.
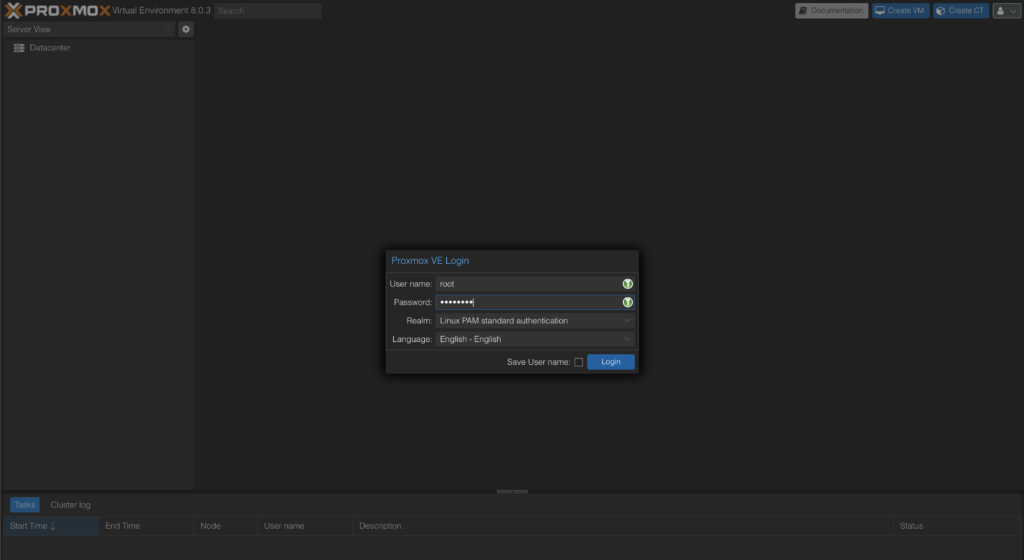
For the username, enter “root,” as well as the password we created during initial setup, and log in.
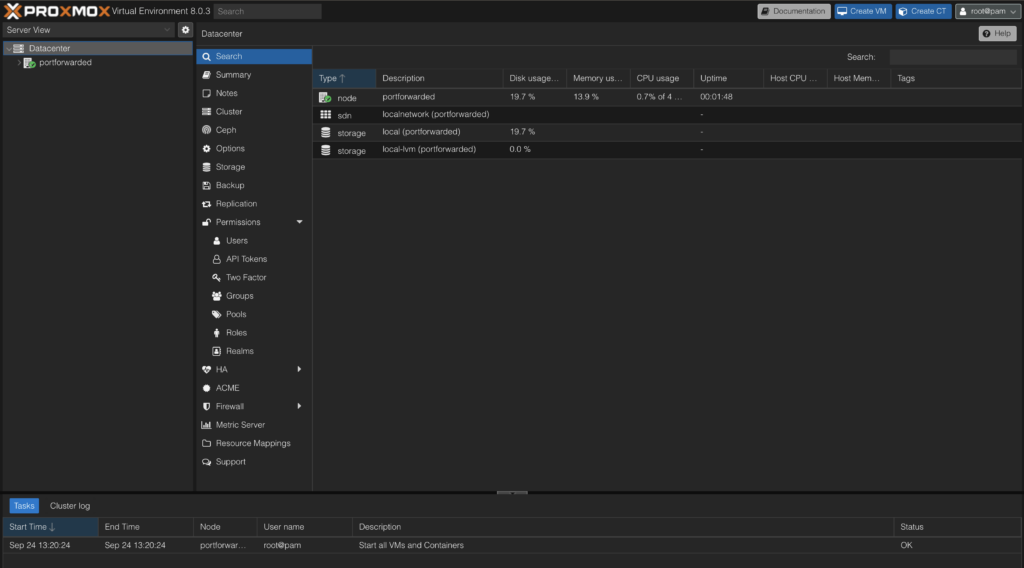
Congratulations! We’ve successfully installed Proxmox and we’re almost ready to start installing and running VMs, but we have to do a little housekeeping first. We want to limit SSH root access, so first we need to create another administrator account. For some reason you need to add the user from the console before you can create the user in the web UI. But before we can even do that, we need to update and upgrade our apt repository and packages, and unless you’re paying for the Enterprise repos, we need to turn them off and enable the test repos.
Let’s SSH into Proxmox.
ssh root@192.168.x.xAnd edit our Enterprise repo source files.
nano /etc/apt/sources.list.d/ceph.listComment out the following line.
deb https://enterprise.proxmox.com/debian/ceph-quincy bookworm enterpriseSave and exit. Then open the other repo source file.
nano /etc/apt/sources.list.d/pve-enterprise.listAnd comment out the following line.
deb https://enterprise.proxmox.com/debian/pve bookworm pve-enterpriseSave and exit. Now we need to update our sources.list file with the test repository.
nano /etc/apt/sources.listAnd enter the following.
deb http://ftp.debian.org/debian bookworm main contrib
deb http://ftp.debian.org/debian bookworm-updates main contrib

# Proxmox VE pve-no-subscription repository provided by proxmox.com,
# NOT recommended for production use
deb http://download.proxmox.com/debian/pve bookworm pve-no-subscription

# security updates
deb http://security.debian.org/debian-security bookworm-security main contrib
Now update and upgrade our repo and packages.
apt update && apt upgrade -ySince we’re missing the sudo command, we’ll need to install it before we create our new admin user.
apt install sudoOnce the sudo package is finished installing, we can create a new user and give it sudo privileges.
adduser new_admin_usernameOnce you’ve created and confirmed a password (make sure it’s complex!), issue sudo privileges.
usermod -aG sudo new_admin_usernameI’ll cover secure SSH setup in another tutorial, but for now we want disallow root user login to the console. OpenSSH comes built in, so let’s edit our /etc/ssh/sshd_config file.
nano /etc/ssh/sshd_configEnd change the PermitRootLogin directive from “yes” to “no.”
PermitRootLogin noThen restart the SSH service.
systemctl restart sshdOnce you log out, whenever you need access to the console, simply SSH into Proxmox with your new user. Now go back to the login screen and sign in under root. In the left panel while Datacenter is selected, find the Permissions > User tab, and click “Add.” Enter the username of the admin user we created.
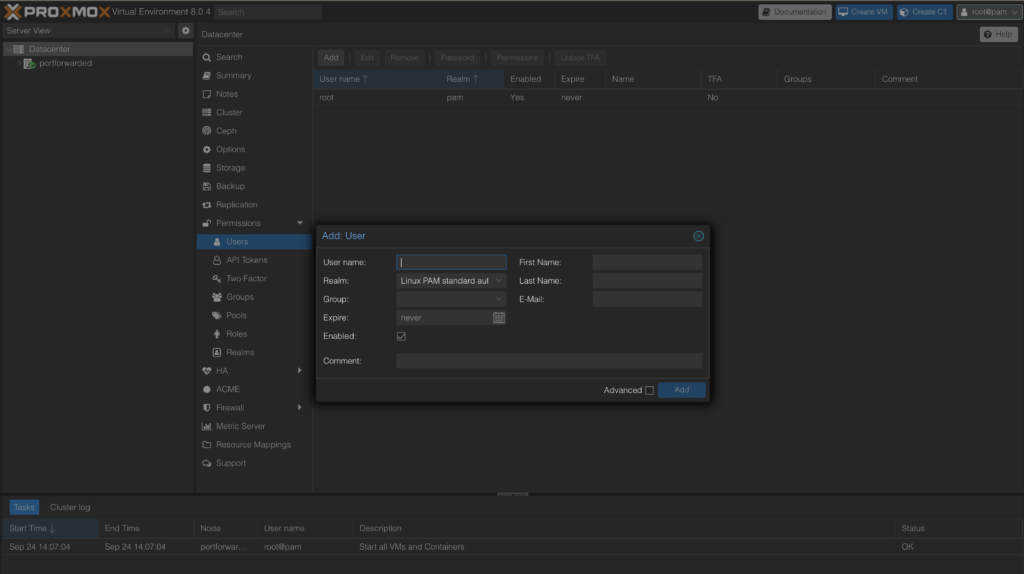
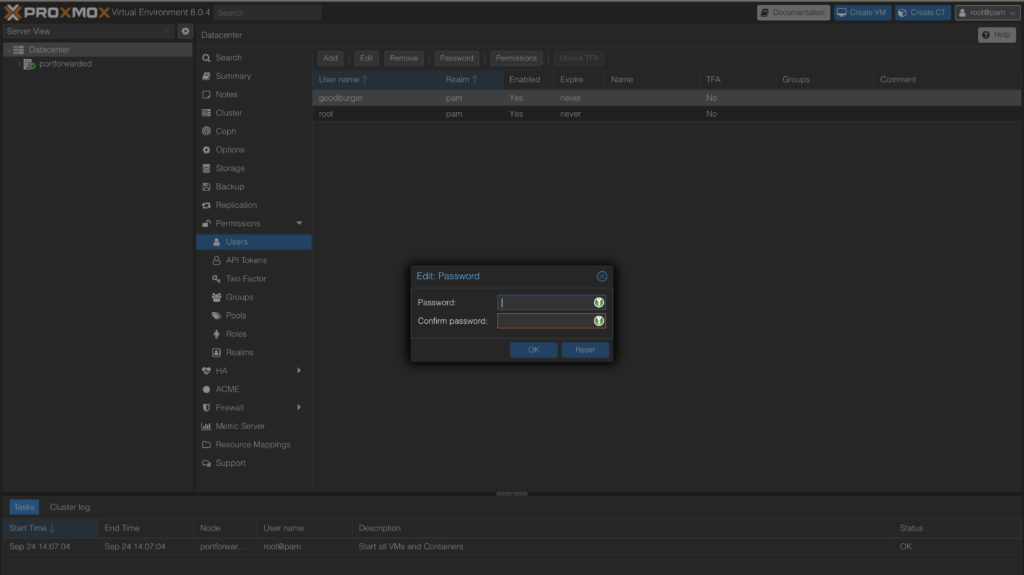
Leave the Realm as Linux PAM, and click Add. We’ll add the user to the Administrator group in a minute, but let’s set the password for this user. You can use the same password you set up the user with in the console.
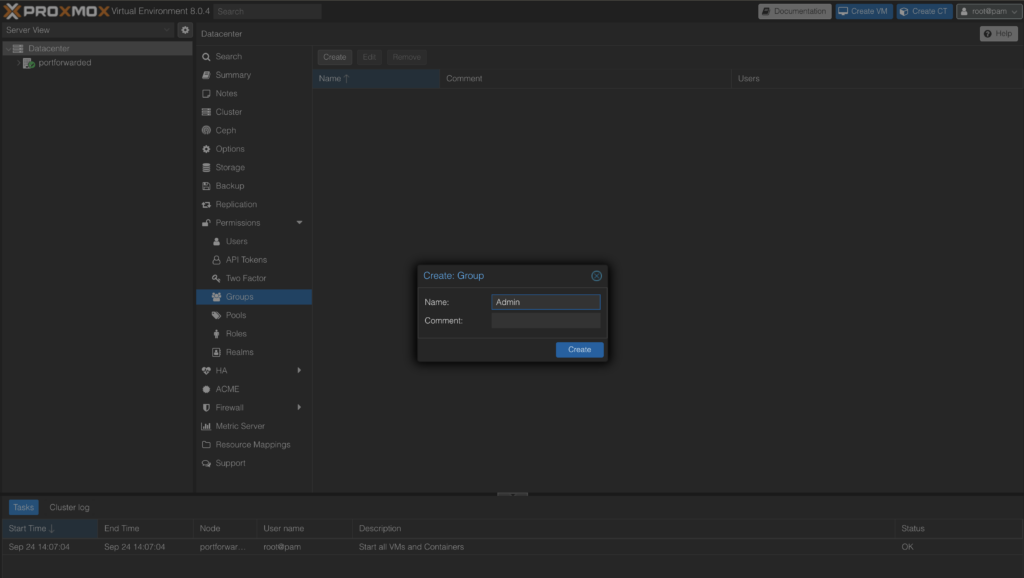
Now we’ll create an Admin group to add our root user and new user to. Find the Groups tab and click create. Let’s call the group Admin.
After you’ve created the Group, go back to the top-level Permissions tab, set the path as the root directory, the Group as Admin (which we just created), and the role as Administrator, then click Add. You can see a list of default Roles in the Permissions > Roles tab.

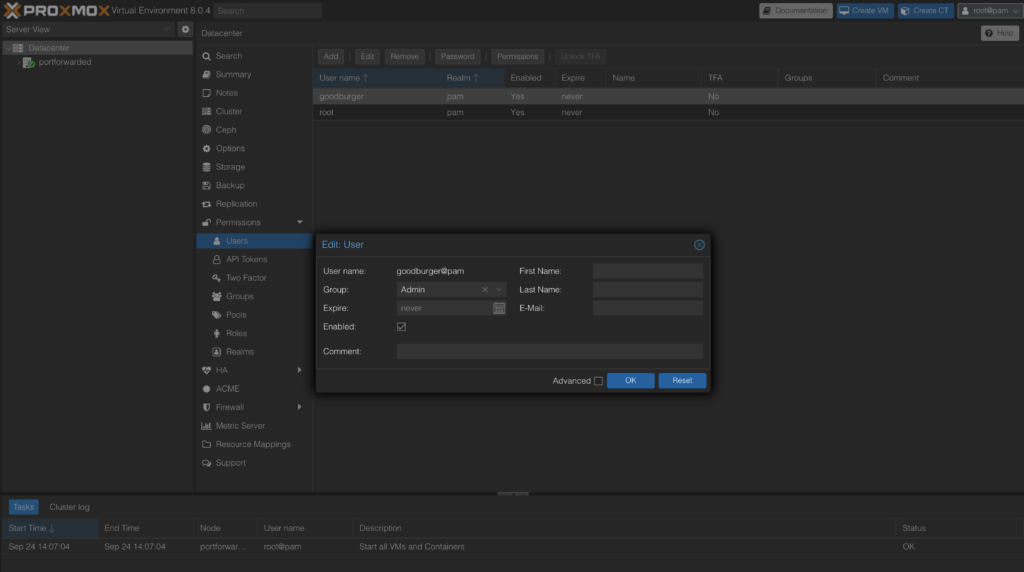
Navigate back to the users tab, select the user you wish to edit, and select Edit. From the dropdown menu the Admin group should be available. Select Admin and then OK. Repeat for the root user.
And we’ve successfully installed and configured Proxmox! Ready to spin up a VM? Let’s go! One of my favorite operating systems is Ubuntu Server. It’s basically Ubuntu but without the expensive overhead of a desktop GUI: it’s all CLI.
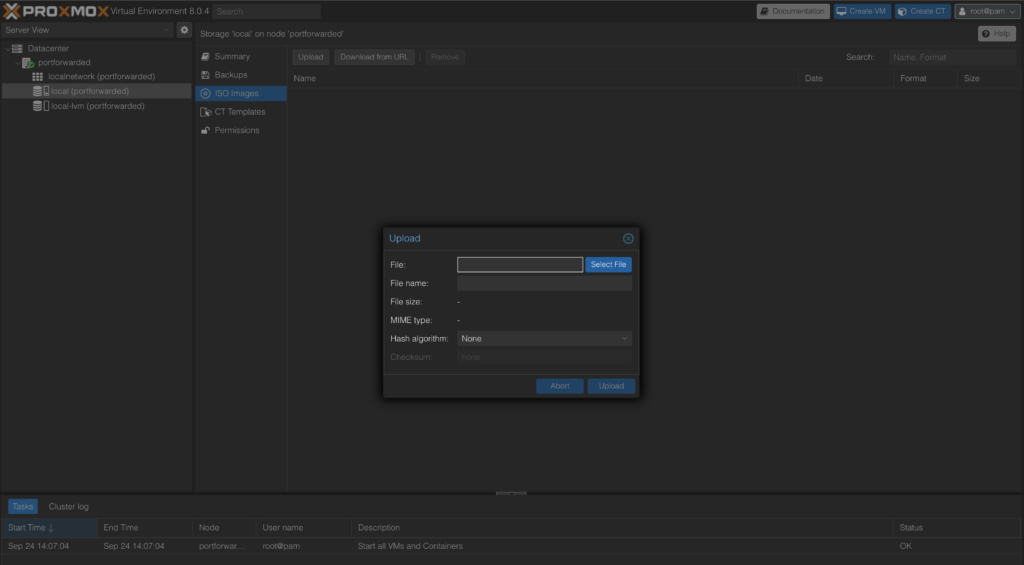
Head over to Ubuntu and download Ubuntu Server 22.04 LTS. You can download newer versions, of course, but LTS is Long-Term Support and is very stable. Once you have the ISO downloaded, under your node, select Local > ISO, and upload the ISO you just downloaded. You can enter the Hash algorithm and checksum values to verify the download.
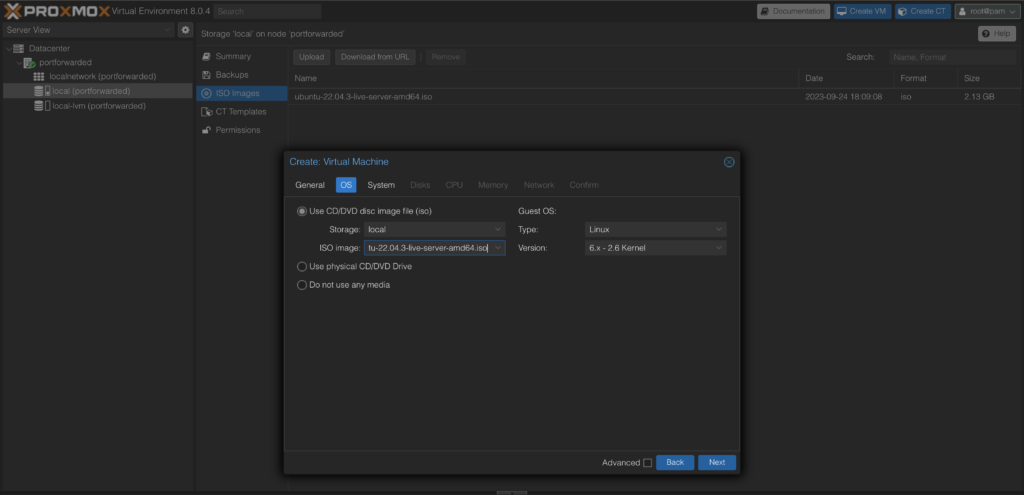
Once that’s uploaded, select “Create VM” in the upper right. Since this is just a demonstration, we’ll go with set up with all the default options. Proxmox will automatically number your VMs, and since we’re not doing any VLAN tagging (yet), the default node is our current installation and our VM number is 100. Click Next.

Select the OS from the dropdown. That will be the Ubuntu Server ISO we just uploaded to our system.
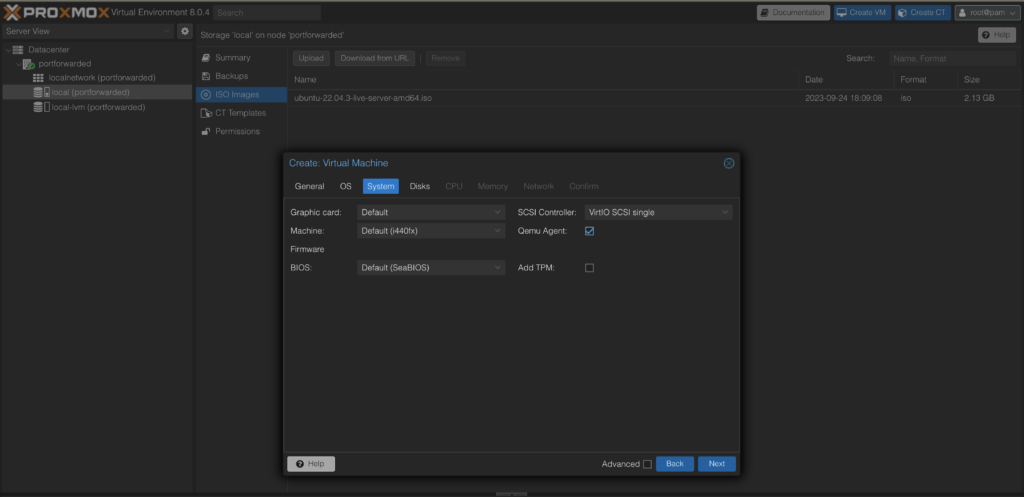
Leave the system information as default, but select the box with Qemu Agent, as that will be important for starting and stopping our VMs without being logged into them. Click Next.
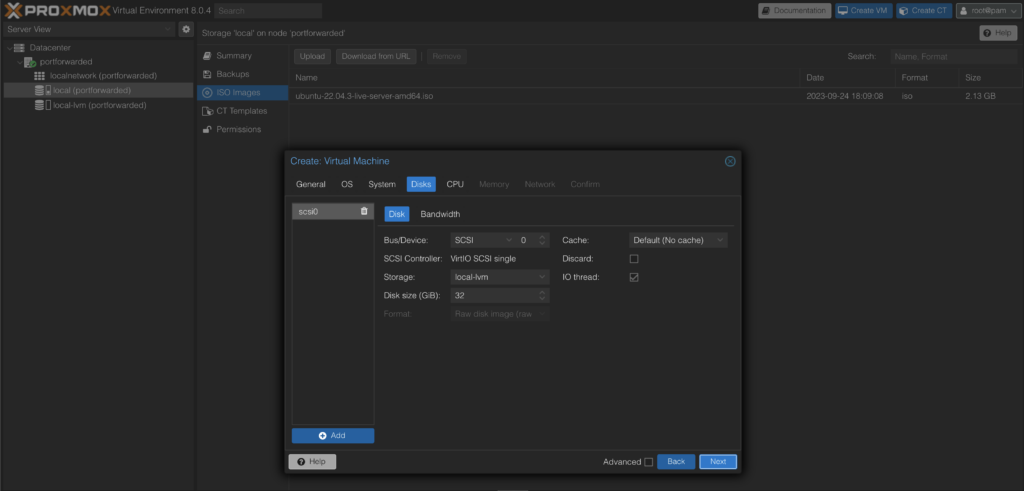
Among other things, you can change the default disk size, but we’ll leave as is and click Next.
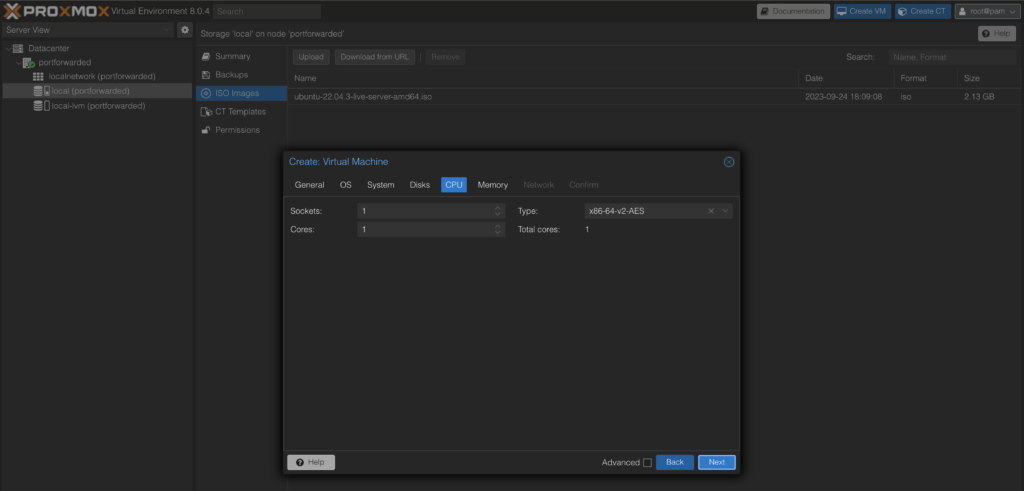
We’ll leave as default here, but you can adjust the sockets and cores depending on your CPU specs. Next.
We’ll leave the RAM at the default of 2GB, but you can increase if you have more RAM, of course.
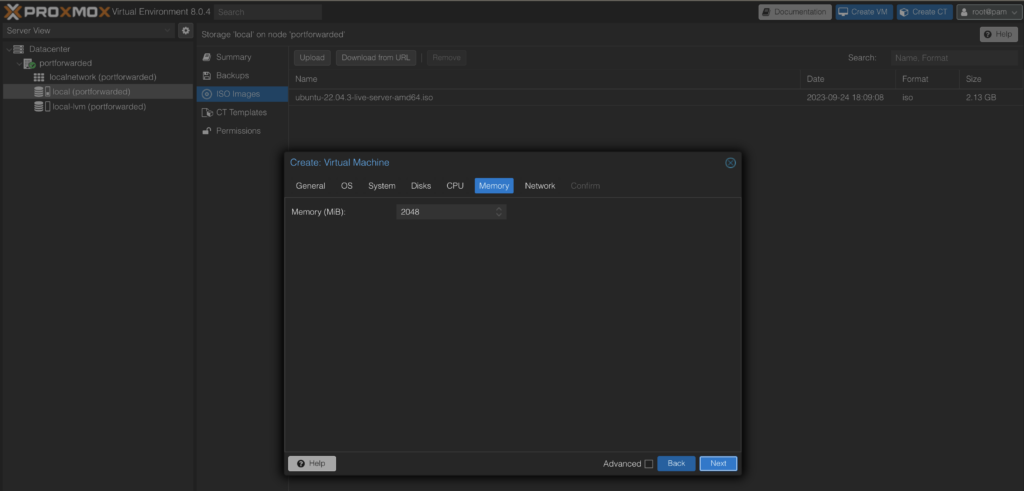
Leave the network interface as vmbr0. And click Next.

Then confirm and select the check box for “Start after created.”

And that’s it! When the VM is created, select your VM > Console, and follow the installation instructions for Ubuntu Server. That was a lot of work. You should feel accomplished! I do have just one more thing to add that you’ll want to do.
Backups.
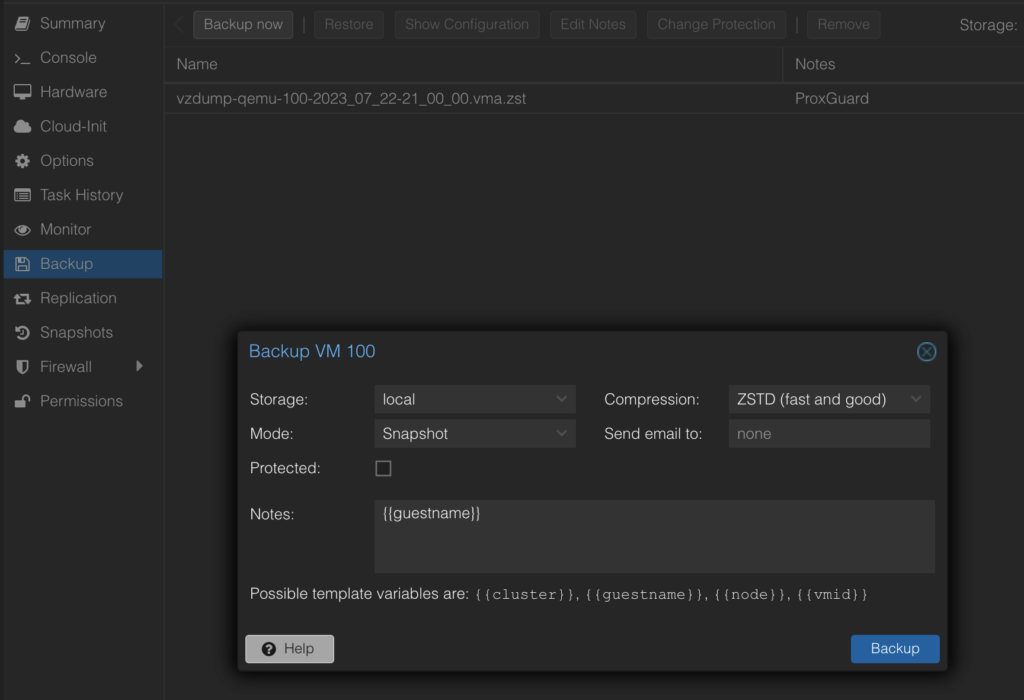
Select your VM > Backup. Then back up your VM and add any notes. If you ever have an issue, you can simply go back to VM > Backup > Restore, and restore your VM to a previously saved state. And what’s awesome about it is you don’t have to worry about reinstallation. When you restore, you pick up right at the last save point! I’ll demonstrate this in an upcoming tutorial video (as well as how to create a template), but I think restoring a “default” VM is faster. Thank you for reading!